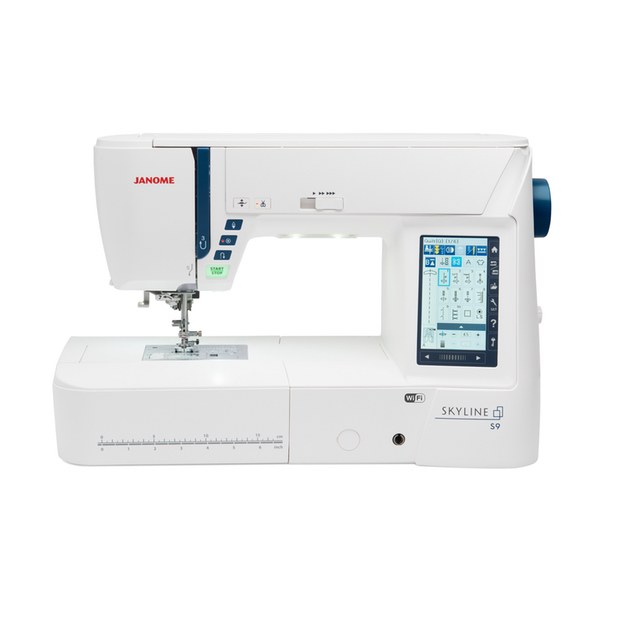
January 14th, 2018: Beginners Guide: Getting Started with the Janome Skyline S9
January 14th, 2018
Introduction
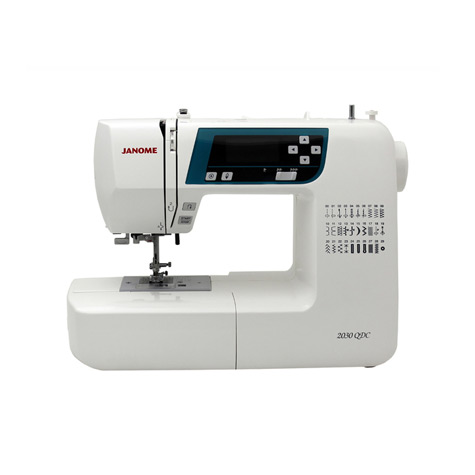
As a novice sewist, stepping into the world of sewing and embroidery can be both exciting and slightly overwhelming. The Janome Skyline S9, a combination sewing and embroidery machine, is a fantastic option for beginners due to its user-friendly features and versatility. This guide aims to help beginners get started with this versatile machine, breaking down its key features and providing practical tips to optimize your sewing experience.
Unboxing and Setup
After purchasing the Janome Skyline S9, the first step is to unpack the machine and familiarize yourself with its components. The package includes the machine, an instruction book, a power cord, a foot control, and various accessories like different presser feet, bobbins, needles, spool holders, and embroidery hoops.
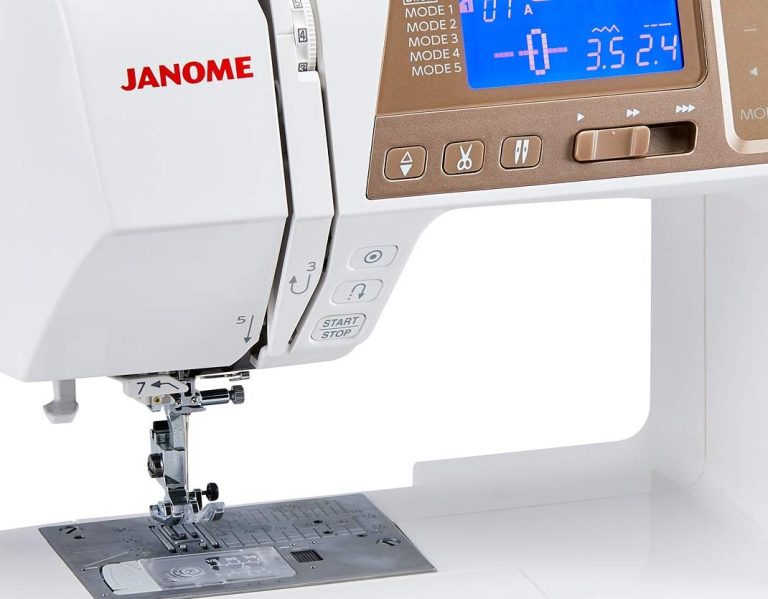
Setting up the Skyline S9 is straightforward. First, connect the power cord and foot control to the machine. Turn on the machine using the power switch. The full-color LCD touch screen will light up, displaying the default sewing mode.
Threading the Machine
Threading the Skyline S9 might seem complex at first, but with practice, it becomes a breeze. The machine features a built-in needle threader, which simplifies the threading process.
First, ensure you have the correct spool cap for the thread you want to use. The machine comes with 3 different sizes. You want to make sure that the spool cap is a little bit larger than the spool of thread.
For the bobbin, first wind the bobbin with thread using the bobbin winder on the top of following the “broken line arrow” mapped out on the machine. Then, insert the bobbin in the bobbin case following the guides with the thread going around the bobbin counter clockwise. Place your finger on the bobbin so it does not spin as you bring the thread all the way through the tension until it reaches the thread cutter. With the easy-set bobbin case you no longer need to bring up the bobbin thread, but you can if you would like, once the needle is threaded.
For the needle, follow the numbered thread guide marked on the machine for the upper thread, from the spool holder down to the needle. Then, use the needle threader to push the thread through the eye of the needle.
Please refer to pages 16-21 in your manual for more detailed instructions.
Selecting and Using Stitches
The Skyline S9 offers 300 built-in stitches, including utility, quilting, decorative, and heirloom, stitches. Selecting a stitch is as simple as tapping the stitch you want on the touch screen. If you want a stitch from the “utility” or “buttonhole” section, simply turn the page with the arrows at the bottom of the screen, until you see the stitch you want. If you want anything from sections “appliqué” to “play” press the decorative stitch on the top of the screen to access these categories. Every stitch is pre-set at a certain size but you can adjust the stitch width and length at the bottom of the screen, and even save your favourite settings for future use.
The sewing applications menu on the Skyline S9 is incredibly beneficial for beginners. It provides a user-friendly interface with a myriad of options tailored to support those just getting started in sewing. The menu includes predefined settings for a variety of sewing tasks, such a zippers or blind hems, taking out the guesswork for newcomers. It can help guide users by setting up the machine with the correct stitch length, width, the proper tension, and shows the appropriate presser foot. For beginners who are unfamiliar with these settings, this feature can significantly simplify the learning process, making sewing more enjoyable and less intimidating.
The machine also provides various presser feet suited for different types of stitches and techniques. For beginners, start with the A foot for basic sewing and straight stitches. As you gain confidence and expand your sewing skills, you can explore other presser feet.
Embroidery for Beginners
Transitioning from sewing to embroidery on the Skyline S9 is straightforward. To start, attach the embroidery unit to the machine. Please refer to page 114 and 115 in the manual on how to do this, as correct installation is critical. Next, select the embroidery mode on the touch screen and choose a design from the built-in options or import a design via Wi-Fi, USB, or direct PC connection.
Place your fabric in the appropriate embroidery hoop, allow the embroidery arm to move into position and then attach the hoop to the machine. Thread the machine with your chosen embroidery thread, lower the presser foot, and start the machine. The Skyline S9 will do the rest!
Maintenance and Troubleshooting
To keep your Skyline S9 performing optimally, regular maintenance is crucial. Clean the bobbin case and feed dogs regularly to remove lint and dust as specified in the instruction manual. Always use good quality thread and the correct type of needle for your fabric.
If you encounter issues, the machine’s touch screen provides helpful prompts, and the instruction manual includes a troubleshooting guide. For more complex issues, don’t hesitate to contact a Janome service center.
Conclusion
Getting started with the Janome Skyline S9 can open a world of creativity for novice sewists. This versatile machine combines a range of user-friendly features with advanced technology, offering beginners an excellent platform to develop and expand their sewing and embroidery skills. So, don’t wait – it’s time to start your sewing journey with the Skyline S9!
EXCEPTIONAL CUSTOMER SUPPORT: Janome prides itself on providing excellent customer support,
Additionally, the machine comes with a 25-year limited warranty, ensuring the user’s peace of mind.
Toews Sewing Janome S9 Home Page