Unboxing & Setting Up Your New Janome Skyline S9
Congratulations, you’ve made an excellent choice in the Janome Skyline Embroidery S9 sewing machine, a seamless fusion of sewing and embroidery capabilities. Now comes the exciting part – unboxing and setting up your new embroidery S9 machine.
Here, we will guide you through these initial steps, turning what might seem like a daunting task into an enjoyable part of your sewing journey.
Unboxing Your Janome S9 Embroidery Machine
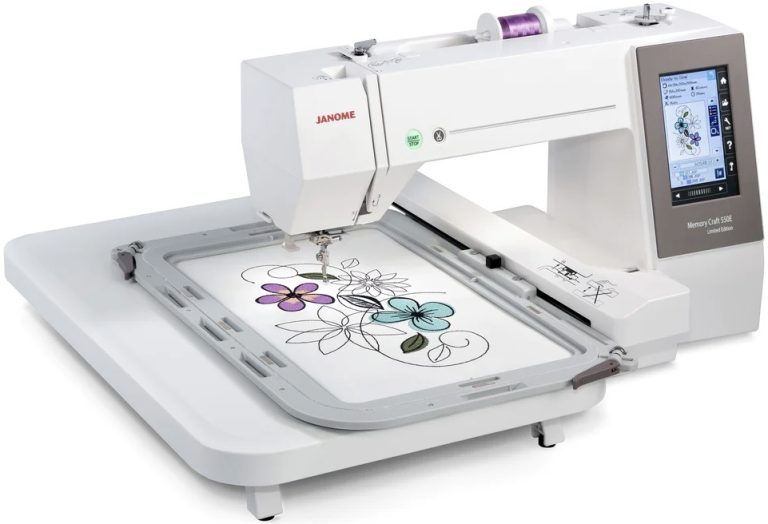
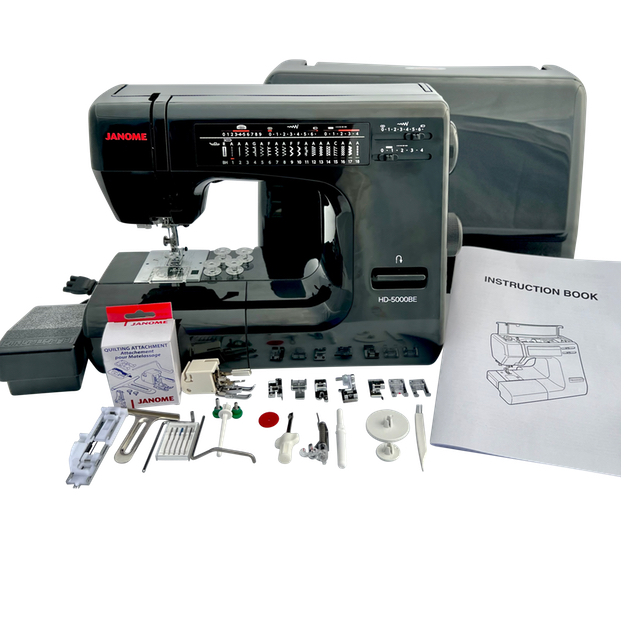
Your Skyline S9 arrives securely packed to protect it during transit. Upon opening the box, you will find two levels of Styrofoam with an assortment of accessories that include a variety of feet, bobbins, needles, spool holders, and even S9 embroidery hoops. Underneath these, you will find the machine itself packaged carefully in more styrofoam. There’s also a semi-hard cover to protect your machine when not in use.
Carefully lift the machine out of the box – it’s solidly built and heavier than you might expect, so take care. Ensure you have a sturdy, clean, and well-lit workspace ready to accommodate your new sewing partner.
Familiarizing Yourself with Your New Embroidery S9 Machine
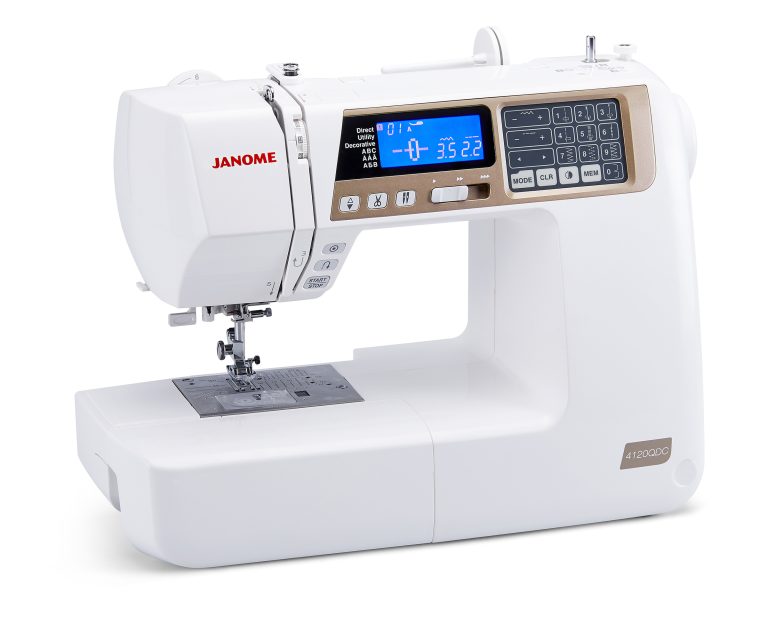
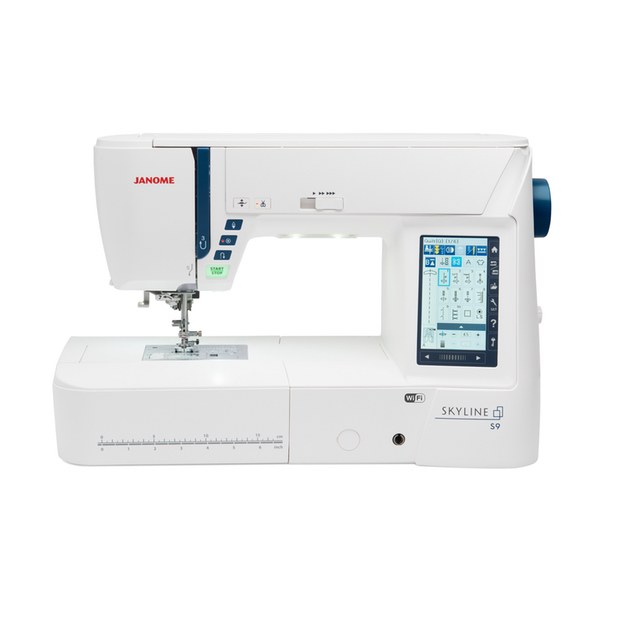
Before diving into your first project, take the time to familiarize yourself with the Skyline S9. Watch the instructional DVD and take a look at your manual. Locate key components of the machine such as the top loading full rotary hook bobbin system, bobbin winder, automatic thread cutter, the start/stop button, the needle up/down button, and the speed control slider. Explore the full-color LCD touchscreen, where you’ll select and modify stitches, navigate through embroidery designs, and access on-screen assistance.
Powering Up & Threading
Once you’re familiar with the various components, it’s time to power up your S9. Connect the power cord and press the power switch located on the right side of the machine. The LCD screen will light up and the machine will perform a quick self-check.
Next, start with winding the bobbin, following the guides printed on the machine for easy reference as well as double checking in the manual or following along with the DVD. Threading the top/needle is next and then inserting the full bobbin into the easy-set bobbin case, once again following the clear instructions provided.
Exploring the Stitches & Embroidery Designs
The Skyline S9 comes with 300 built-in stitches and 250 embroidery designs, offering a wealth of creative possibilities. Take the time to explore these, experimenting with different stitch lengths and widths. You can easily modify stitches on the LCD touchscreen and save your favourite settings for future use.
Running a Test
Before starting your first project, run a few test stitches on a scrap piece of fabric. This will allow you to ensure the threading is correct and the tension is set properly. It will also give you a feel for the machine and its performance.
Setting Up the Janome S9 for Embroidery
If you’re ready to explore embroidery, carefully attach the embroidery unit that comes with the machine by following the instructions in the manual. Next, select an embroidery design and hoop your fabric. The on-screen assistance will guide you through your first embroidery experience.
A Final Word – Embroidery S9 Manual & Support
Don’t forget the importance of the embroidery S9 user manual that comes with your Skyline S9. It’s an invaluable resource, detailing each function and feature of your machine. And remember, Janome’s exceptional customer support is always available to assist you, making setting up your machine a smooth process.
Unboxing and setting up your new Janome Skyline S9 is undoubtedly exciting. It’s the start of a creative journey, one where this incredible machine will be your steadfast companion. With its advanced features and user-friendly design, the Janome Skyline embroidery S9 sewing machine is ready to bring your sewing and embroidery ideas to life.
Contact Toews Sewing
Toews Sewing is a Canadian Janome sewing machine dealer located near Vancouver, BC. Janome offers excellent customer support and a 25-year limited warranty for their sewing, quilting, and embroidery machines.
Feel free to contact us with any questions or if you require sewing machine servicing or sewing machine repairs.